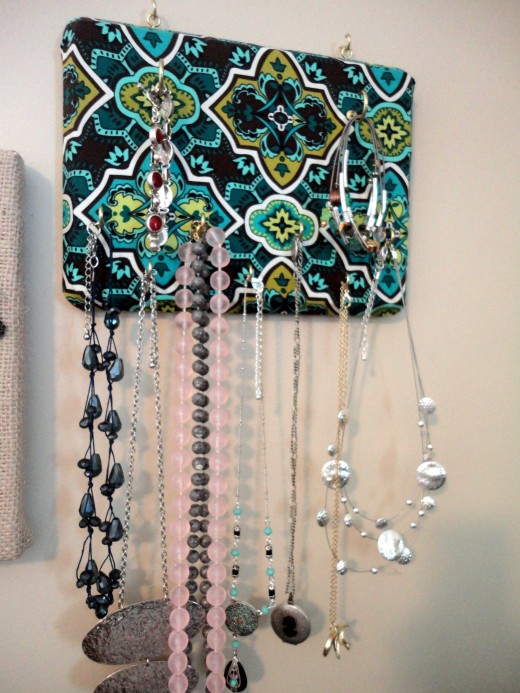
How to Make Your Own Wall-Mounted Jewelry Organizer

Nothing is more frustrating than a pile of tangled necklaces, especially when your child is yelling for toys, your husband is wondering what's taking you so long, and you still have to brush your teeth - all while you should have been to your destination ages ago. We should be able to look our best NOW. This great wall-mounted jewelry display/organizer is perfect for every woman. See your options laid out before you, and never worry about tangles again!
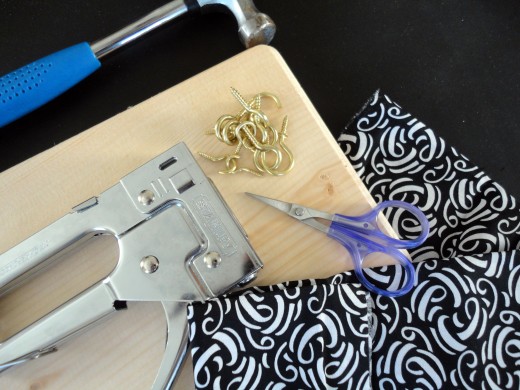
Supplies
You'll need a few supplies. I recommend getting them from a hardware store, as their prices are always more reasonable than a craft store. The fabric, of course, will be from a craft store (most likely), but you can also get your fabric from unexpected places: an old shirt that has a pattern you adore and a stain you hate, vintage sheets, old dresses, etc.
- Staple gun
- Small hammer
- Screw in hooks and eyes
- A piece of wood of your choosing (the piece shown here is beveled on the edges. My original idea was to paint it, but that never came to fruition; therefore, your piece, covered in fabric, does not have to have nice edges). I recommend your wood be at least a half inch thick so your hooks and eyes will fit in the wood without compromising their ability to hold jewelry or hang on the wall. My wood measures 9x7.
- Enough fabric to cover your wood
- A small pair of scissors to trim your fabric
- A pen, unless you really trust your eye to line up the hooks
Let's Start!
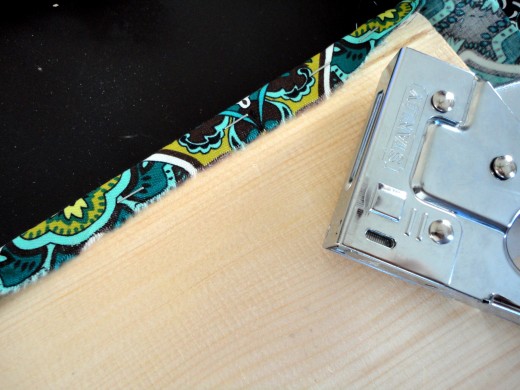
Using your staple gun and a firm grip, staple the fabric to the back side of the wood. I made the fabric as taut as I could. Feel free to use as many staples as you see fit. If your piece is round on the corners like mine, pull the corner of the fabric diagonally toward the center of the board and staple down, then pull the side pieces directly across, horizontally. This should minimize puckered edges.
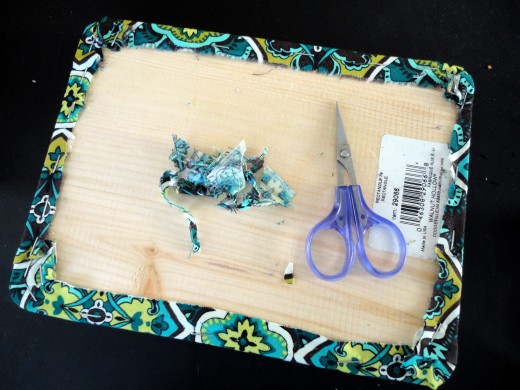
Trim your fabric edges. Too much fabric will cause the wood to push out from the wall when it comes time to hang it. This is also a good way to go over your stapling work and identify any fabric that is too loose.

Choose your placement, and decide - finally - what it is you want this to accommodate. I have a few bracelets. Some are wire, some are metal with gems; bracelets also tend to be larger than necklaces (mine are, at least), so I decided I would put two large hooks at the top of my piece, which I am mounting in a landscape position. Unfortunately, these hooks are not large enough to fit larger acrylic or plastic bracelets on, but I can easily fit a few of my others on one hook.
Use a pen if you need to, being sure to align the hooks carefully so one is not higher than the other (though this is a pleasing look for some people). This is also where your hammer comes in. With a few small taps, you can start your way to screwing the hook into the wood.
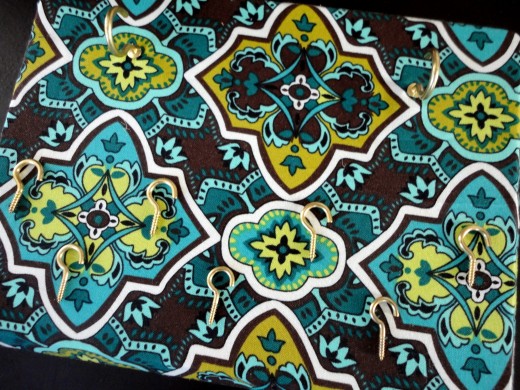
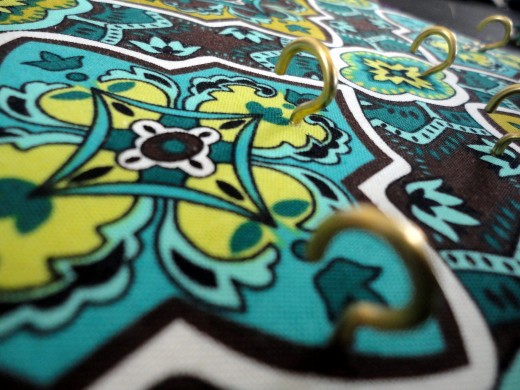
Determine, again, your placement for the necklace hooks. I wanted symmetry and squished them closer together than I had originally intended. Fortunately, it worked out okay. Using a ruler to align them, I drew small dots on the fabric at the point of the screws. Screw them in!
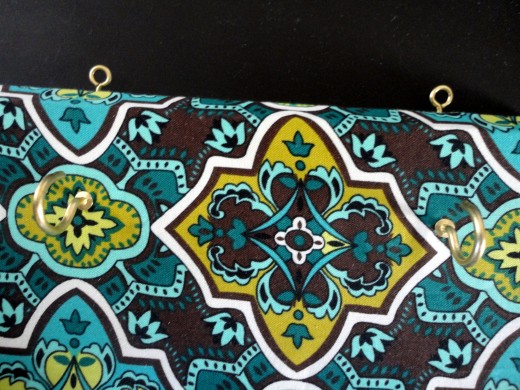
Almost done! Now, using two "eye" pieces of your hook & eye set, screw them in the top. I put my closer to the edge that will be against the wall, but not so close that the eye pokes through the wood.

Finally, line hooks up on your wall to match the placement of your eyes and hang! If you have a large collection, different pattern would look marvelous.